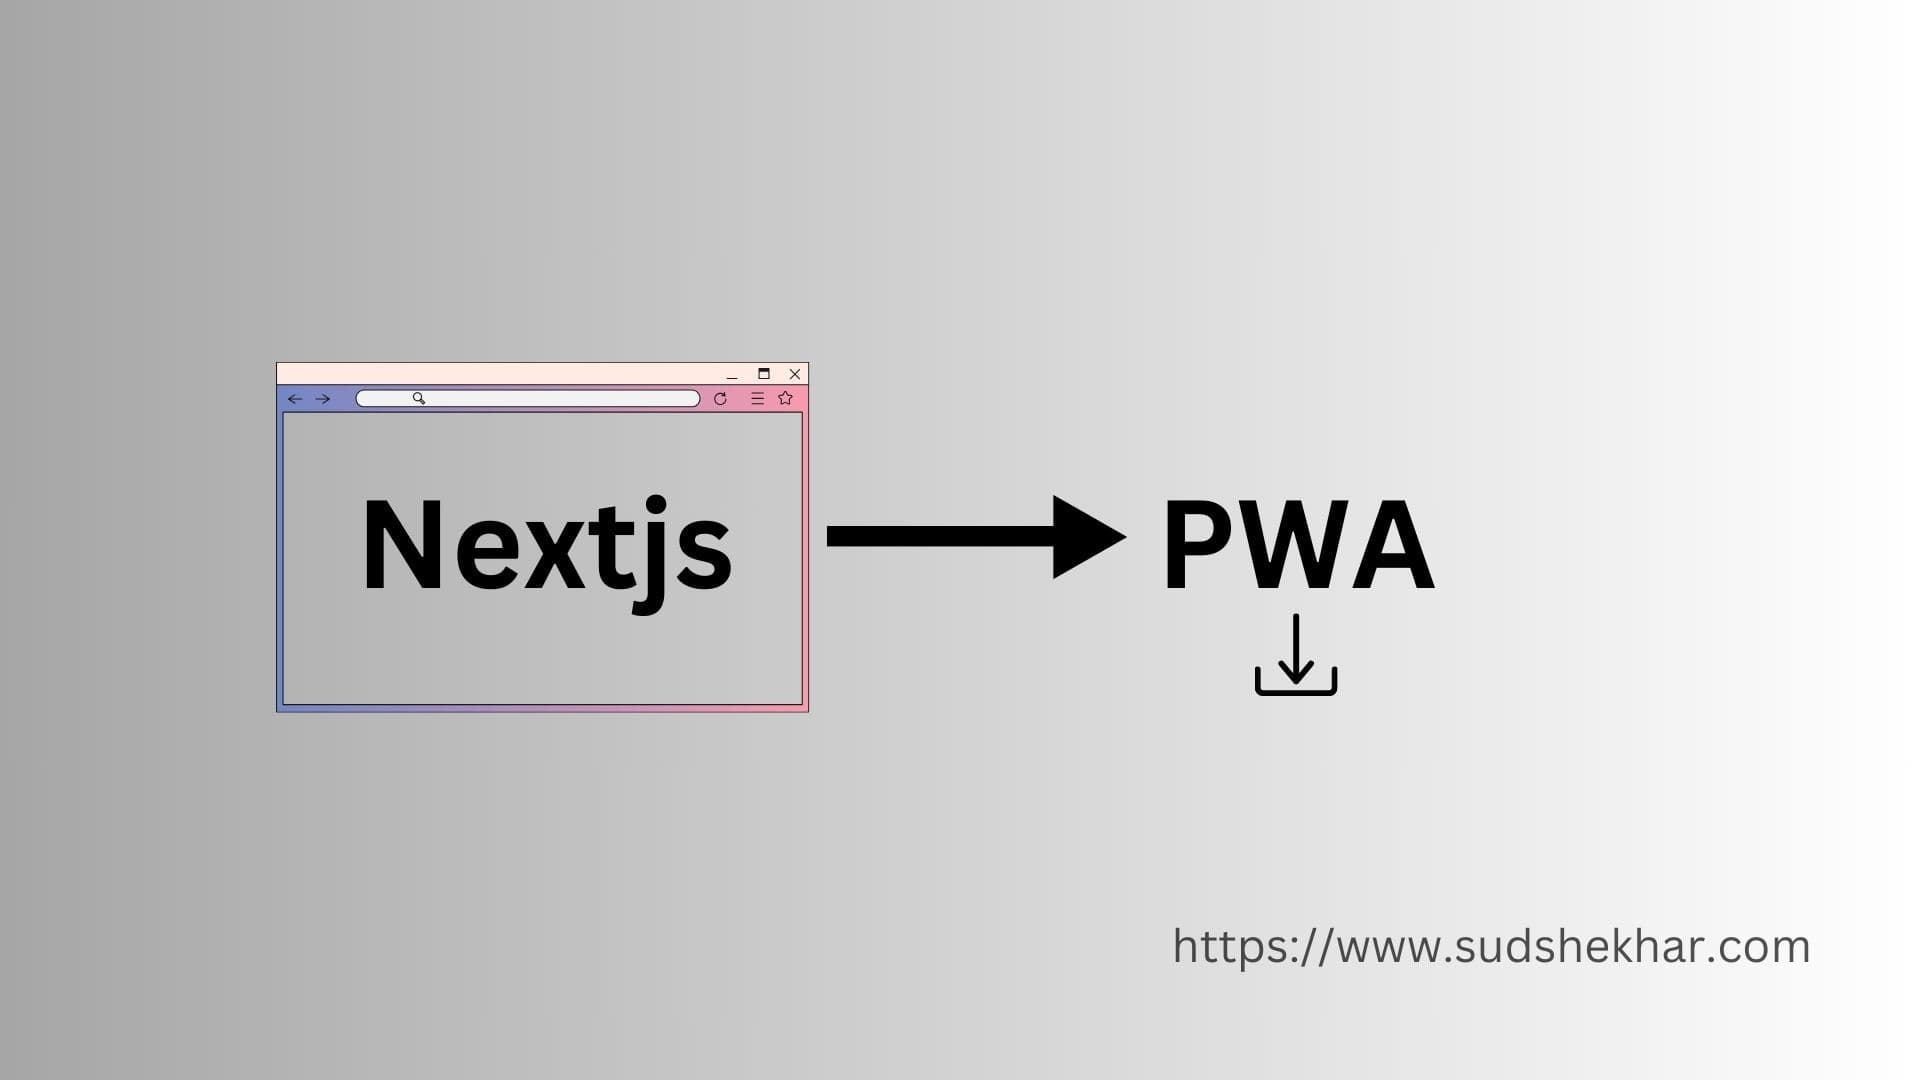
Nextjs is a popular framework for building web apps these days. In this post we will see how we can convert a nextjs app to a PWA(Progressive Web App) using a package next-pwa.
What is a PWA ?
PWA stands for Progressive Web App which in simple terms means that it is a web app in its core built with any web technology. Though a PWA is different from a normal web app because of its ability to provide a user experience like that of a platform specific app.
You might have observed web apps which when loads in browser shows a install icon in the address bar. If we click on that icon the web apps gets installed on our system with an icon just like a desktop app.
When these web apps are opened up in mobile web browser these gets installed like any other mobile apps when add the apps url to the home screen or bookmark the app.
The screenshot below shows the youtube app which is a pwa and you can see the install icon highlighted below.

Benefits of a PWA
There are lots of benefits on a PWA which you can find on the internet and i will not go through each one of them in detail in this blog because right now our aim to to convert nextjs to a PWA. The most important benefit in my view is the ability of write code once in web technology like nextjs and use it like a desktop app in computer, android app and ios mobile apps in smartphones and via url in web browsers.
It saves us from writing dedicated code for each of the platforms like desktop ,mobile and browser. Although this doesnt mean that native apps are useless rather PWAs can reduce the time of delivering native like apps with less effort in development and support.
Convert nextjs to PWA
Let us now get started with converting our nextjs app to pwa. We would assume that you already have a nextjs app ready to be converted and start with the conversion process.
Installing required packages
Converting a nextjs app to PWA becomes easy using the package next-pwa otherwise there would a lot of
configurations that need to be done manually. We would be using next-pwa for our conversion.
Lets install the package with the below commands in the terminal -
// NPM
npm install next-pwa
Once the package is installed successfully let us modify our next.config.js file to use the installed
package.
Configuring next.config.js file for PWA
The next.config.js is the file that contains the required configurations for your nextjs app. We will add more configurations to this file so that the nextjs app has PWA capabilities.
next.config.js
const runtimeCaching = require("next-pwa/cache");
const withPWA = require('next-pwa')({
  dest: 'public',
  cacheOnFrontEndNav: true,
  register: true,
  skipWaiting: true,
  reloadOnOnline: true,
  runtimeCaching,
  })
Let us understand the code above -
const runtimeCaching = require("next-pwa/cache");The above line imports a predefined caching configuration from the next-pwa package which is then supplied to our pwa configuration. Runtime caching is a technique used in PWAs to store and retrieve responses from the cache during runtime, typically to improve performance and offline capabilities.
const withPWA = require('next-pwa')({
  dest: 'public',
  cacheOnFrontEndNav: true,
  register: true,
  skipWaiting: true,
  reloadOnOnline: true,
  runtimeCaching,
  })

const nextConfig = {
};

export default withPWA(nextConfig);
dest:'public' - This specifies the folder in which the pwa specific files would be placed. In our configuration
above the pwa files would be placed in the public directory. The pwa related files are basically autogenerated
by the next-pwa package and typically found with the name sw.js and workbox.js.
The sw.js is basically a service worker file. The service worker is a separate concept which basically
takes care of the offline capabilities of a web app and also things like background synchronization, caching strategies
and acts as a network proxy for the web app. Service workers also help the app to receive push notifications
from the server even when the app is not opened in browser.
cacheOnFrontEndNav: true: Indicates whether the PWA should cache resources when navigating on the front end.
When set to true, it means resources will be cached during navigation.
register: true: Specifies whether the service worker should be registered automatically. When set to true,
the service worker will be registered during app initialization. You can turn this option to false if you
want to register your own service worker.
skipWaiting: true: Instructs the service worker to skip the waiting phase during activation, immediately
taking control of the page. This helps in ensuring that the latest version of the service worker becomes
active as soon as possible.
reloadOnOnline: true: Specifies whether the app should reload when the device comes back online.
Setting it to true ensures that the app reloads automatically when the network connection is restored.
runtimeCaching: This property is assigned the runtimeCaching configuration imported earlier. It determines
how runtime caching should be handled, specifying rules for caching specific resources based on their URLs or
other criteria.
With the above configuration the PWA capabilities are added to the nextjs app and on running the app you would see the service worker and workbox related files generated in the public directory.
Adding autogenerated files to .gitignore
Everytime you build your application there are a couple of files that gets autogenerated in the public folder. We can avoid committing those autogenerated files by putting them in gitignore. The below code shows the gitignore entries for pwa specific files.
**/public/precache.*.*.js
**/public/sw.js
**/public/workbox-*.js
**/public/worker-*.js
**/public/fallback-*.js
**/public/precache.*.*.js.map
**/public/sw.js.map
**/public/workbox-*.js.map
**/public/worker-*.js.map
**/public/swe-worker-*.js
**/public/fallback-*.js
Creating Manifest and Icons
The manifest.json file and icons play essential roles in Progressive Web Apps (PWAs) for enhancing the user experience and ensuring consistency across various platforms.
The manifest.json file is a JSON-formatted configuration file that provides information about the PWA to the browser and the operating system. It includes metadata such as the app's name, description, start URL, display mode, theme color, background color, icons, and more. Browsers and platforms use this file to understand how to present the web app to users, such as whether to add it to the home screen, how to display it in the app switcher, and what icons to use.
Including a manifest.json file is crucial for PWAs because it allows them to behave more like native apps, providing users with a consistent and predictable experience across different devices and platforms.
Icons are essential for PWAs because they represent the app on the user's device, including the home screen, app switcher, and taskbar. PWAs require multiple icons in various sizes to accommodate different devices and contexts. These icons should be provided in different resolutions to ensure optimal display quality on different screen densities. Including icons that match the platform's design guidelines helps ensure that the PWA integrates seamlessly with the user's device environment and enhances the overall user experience.
Maskable icons are a specific type of icon designed to adapt to different device shapes and sizes without being cropped or distorted. They are used primarily on Android devices, where the icon's shape can vary depending on the device's home screen design or launcher settings. Maskable icons are defined in the manifest.json file using the purpose: maskable attribute, indicating to the browser that the icon can be used as a maskable icon. Including maskable icons ensures that the PWA's icon looks consistent and visually appealing across different Android devices, improving the overall aesthetic quality of the app.
Well generating manifest.json and icons are pretty easy and you can find a lot of online tools to do this for you.
I have used progressier to generate the manifest.json and icons for my app.
{
  "theme_color": "#3d3c3e",
  "background_color": "#f4f5f5",
  "icons": [
    {
      "purpose": "maskable",
      "sizes": "512x512",
      "src": "icon512_maskable.png",
      "type": "image/png"
    },
    {
      "purpose": "any",
      "sizes": "512x512",
      "src": "icon512_rounded.png",
      "type": "image/png"
    }
  ],
  "orientation": "any",
  "display": "standalone",
  "dir": "auto",
  "lang": "en-US",
  "name": "sudshekhar",
  "short_name": "sudshekhar",
  "start_url": "/",
  "scope": "https://www.sudshekhar.com"
}
Meta tags configuration
Meta tag configuration plays an important role in the conversion of nextjs to pwa. We link the manifest.json created earlier to our meta tag so that the configuration present in menifest.json is loaded into the browser.
In nextjs app router we can specify the meta tags by the generateMetadata function which can be specified at
layout level and page level. It can also be generated dynamically to generate tags specifc to each route.
A basic structure of the generateMetadata function is mentioned below.
export const generateMetadata = async (): Promise<Metadata> => {
  return {
    title: "my app",
    manifest: "/manifest.json",
    appleWebApp: {
      capable: true,
      statusBarStyle: "default",
      title: "my app",
    },
    description: DESCRIPTION,
  };
};
With this set up now our nextjs app is converted to a PWA and you can run and see the install icon in the
address bar of the browser.
In mobile devices you can add the web url to home screen to access the app as a mobile app.
Conclusion
In this post we covered the following.
- What is a PWA ?
- Benefits of PWA
- Converting an existing Nextjs project to PWA
- Packages needed for conversion.
- Configuring nextjs app for PWA
- Creating manifest.json and icons for PWA
- Generating meta tags needed for PWA
Please share the post by clicking the social media icons at the beginning of the post.
Thank you for reading and see you in the next post !👋