
Introduction
Nextjs is a popular framework based on react to build frontend applications. Implementing form validation is very common with any frontend technology.
In this post we will see how to do a form validation without any external package in Nextjs app.
The reason why we are choosing to build form validation without any external package is because additional packages would require more javascript code to be downloaded and executed in the browser.
We are not saying that external packages should not be used in the application. Using external packages are infact very helpful while working with forms with lots of controls and validations involved in it.
But if we just need to design a very simple form with less number of controls then going ahead with a simple form validation without using any external package is more appropriate.
Creating a new nextjs app
Lets us now create our sample nextjs app with the command below. We would be using tailwindcss and typescript to build our sample app.
npx create-next-app@latest
# or
yarn create next-app
# or
pnpm create next-app
We will be creating the app with the following settings.
- TypeScript
- ESLint
- Tailwind CSS
src/directoryapp/directory- alias -
@/*
√ What is your project named? ... my-app
√ Would you like to use TypeScript with this project? ... No / Yes
√ Would you like to use ESLint with this project? ... No / Yes
√ Would you like to use Tailwind CSS with this project? ... No / Yes
√ Would you like to use `src/` directory with this project? ... No / Yes
√ Would you like to use experimental `app/` directory with this project? ... No / Yes
? What import alias would you like configured? » @/*
First, run the development server:
npm run dev
# or
yarn dev
# or
pnpm dev
Open http://localhost:3000 with your browser to see the result.
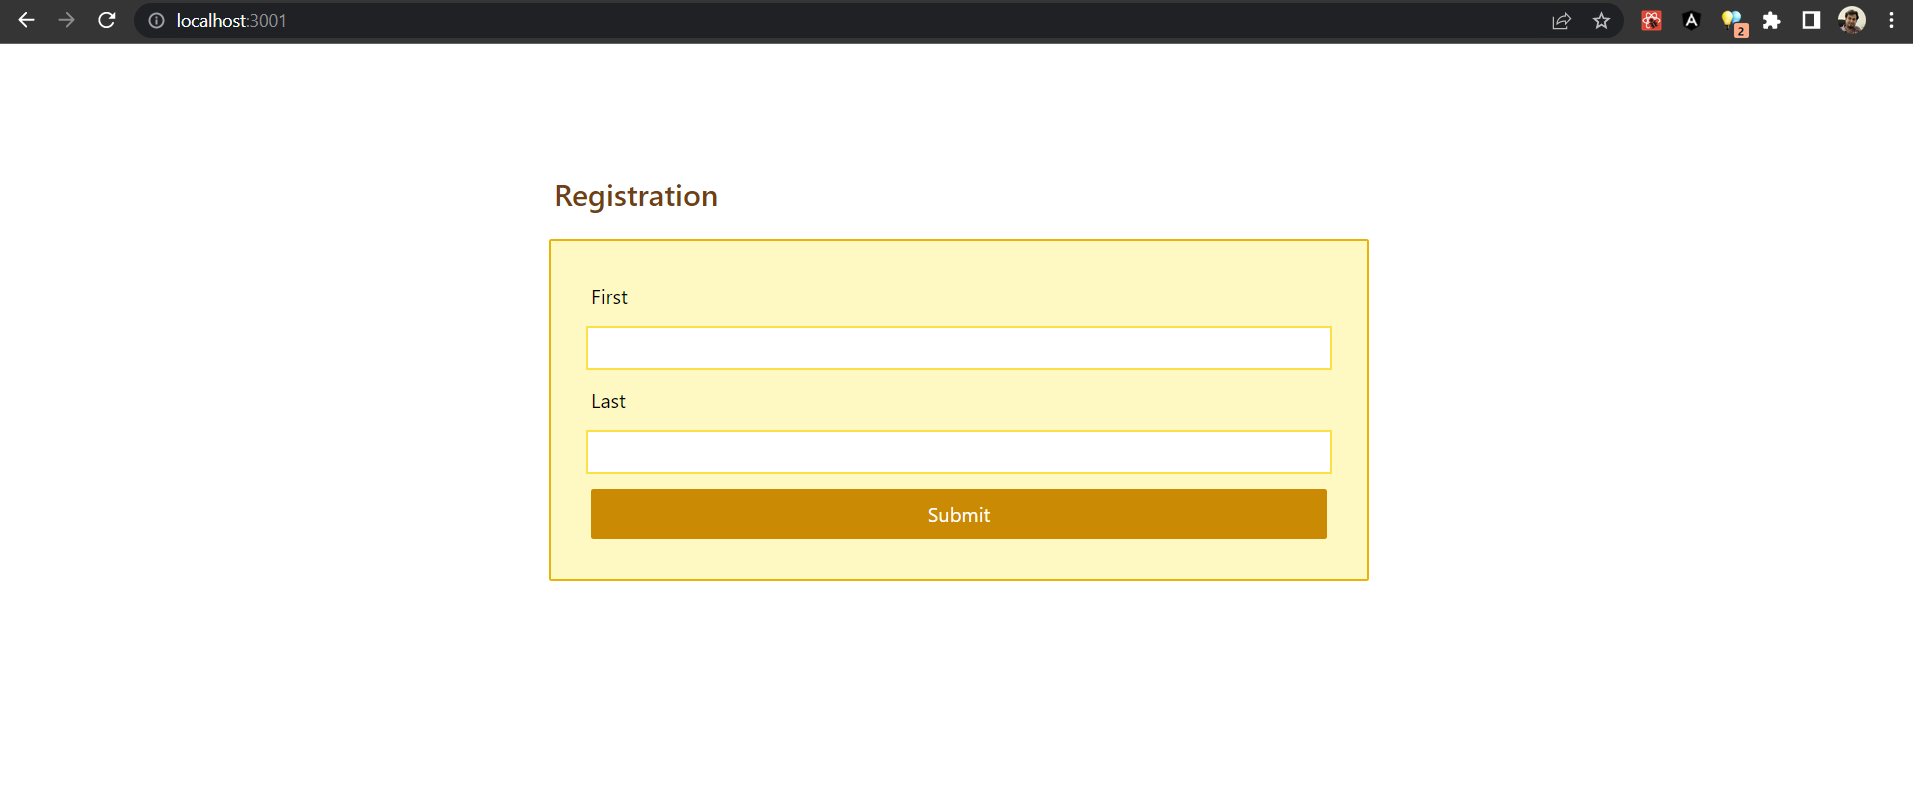
This is the default setting of the app created for us.
It is time to make some changes to the default app now.
Making changes to the default app
To keep things simple we are going to remove the unnecessary css and change to page.tsx inside the app folder to change the default design.
- Remove the css code except the tailwindcss reference from the
globals.cssfile.
The code would look like the one mentioned below - src/app/globals.css
@tailwind base;
@tailwind components;
@tailwind utilities;
- Remove the code from inside the tag in app/page.tsx.
src/app/page.tsx
export default function Home() {
  return (
    <main className="flex min-h-screen flex-col items-center justify-between p-24">
    </main>
  )
}
You can also change the title and description values inside the src/app/layout.tsx.
This is the root layout of the application and all the path inside the app would render this layout unless
we have defined sepcific layout for sepcific path.
Ok. Now that we have removed the boiler plate code it is time to create a simple form.
Creating the Form Component
Since we are going to create a form and perform validations we would need to use the react hooks
like useState to manage the state of our form.
Lets create a components where we will place our components and use them in our page.tsx.
Create a component Registration.tsx and paste the below mentioned code inside it.
src/components/Registration.tsx
"use client";
import React, { FormEvent, useEffect, useState } from "react";

const initialFormData = {
  first: "",
  last: "",
};
interface ErrorMessage {
  first: string;
  last: string;
}
const errorMessage: ErrorMessage = {
  first: "",
  last: "",
};
function Registration() {
  const [formData, setFormData] = useState(initialFormData);
  const [errorMessages, setErrorMessages] = useState(errorMessage);

  const handleChange = (e: React.ChangeEvent<HTMLInputElement>): void => {
    setFormData({
      ...formData,
      [e.target.name]: e.target.value,
    });
  };

  const handleBlur = (e: React.FocusEvent<HTMLInputElement>) => {
    setErrorMessages(validate(formData));
  };

  const handleSubmit = async (e: React.FormEvent<HTMLFormElement>) => {
    e.preventDefault();
    setErrorMessages(validate(formData));
  };

  const validate = (formValues: any) => {
    let error: ErrorMessage = {
      first: "",
      last: "",
    };
    console.log(formValues);
    if (!formValues.first) {
      error.first = "Firstname is required";
    } else if (formValues.first.length < 10) {
      error.first = "Firstname should be minimum 10 characters.";
    } else {
      error.first = "";
    }
    if (!formValues.last) {
      error.last = "Lastname is required";
    } else {
      error.last = "";
    }
    return error;
  };
  return (
    <div className="p-2 w-1/2">
      <h1 className="mx-1 mb-5 text-yellow-900 text-2xl font-semibold">
        Registration
      </h1>
      <form
        onSubmit={handleSubmit}
        className="bg-yellow-100 border-2 border-yellow-500 border-solid rounded-sm flex flex-col p-6"
      >
        <label htmlFor="first" className="m-1 p-1">
          First
        </label>
        <input
          onChange={handleChange}
          onBlur={handleBlur}
          value={formData.first}
          type="text"
          name="first"
          id="first"
          className="border-2 border-yellow-300 outline-2 outline-yellow-500 m-1 p-1"
        />
        <span className="text-red-500">{errorMessages.first}</span>
        <label htmlFor="last" className="m-1 p-1">
          Last
        </label>
        <input
          onChange={handleChange}
          onBlur={handleBlur}
          value={formData.last}
          type="text"
          name="last"
          id="last"
          className="invalid:border-red-500 m-1 p-1 outline-2 outline-yellow-500 border-2 border-yellow-300"
        />
        <span className="text-red-500">{errorMessages.last}</span>
        <button className="bg-yellow-600 p-2 m-2 rounded-sm text-white outline-2 outline-yellow-800">
          Submit
        </button>
      </form>
    </div>
  );
}

export default Registration;
Let us know change the page.tsx inside the app folder and use the Registration.tsx inside
our page.
app/page.tsx
import Registration from "@/components/Registration";

export default function Home() {
  return (
    <main className="flex min-h-screen flex-col items-center justify-between p-24">
      <Registration/>
    </main>
  )
}
Run the app and see the result.
Code Walkthrough for the Form Validation
Our core logic of doing the form validation resides inside the Registration.tsx component.
Lets us gather what all things we have used in the component and why -
- React Hook for State Management -
useState(). This is used to manage the state for the form data and error messages.
const [formData, setFormData] = useState(initialFormData);
const [errorMessages, setErrorMessages] = useState(errorMessage);- Event Handlers - we are having three event handlers to handle the OnChange, OnBlur and
OnSubmit events.
OnChange event on the input textboxes fires the
handleChangeevent handler method and we call thesetFormDatamethod to update the current state of the form data.
const handleChange = (e: React.ChangeEvent<HTMLInputElement>): void => {
    setFormData({
      ...formData,
      [e.target.name]: e.target.value,
    });
  };
OnBlur event on the input textboxes fires the handleBlur event handler method and we call the
setErrorMessages() method to validate the form data and update the state of error messages.
 const handleBlur = (e: React.FocusEvent<HTMLInputElement>) => {
    setErrorMessages(validate(formData));
  };
OnSubmit event on the form fires the handleSubmit event handler method and just like the handleBlur
we call the setErrorMessages() method to validate the form data and update the state of error messages.
const handleSubmit = async (e: React.FormEvent<HTMLFormElement>) => {
    e.preventDefault();
    setErrorMessages(validate(formData));
};- Validation method - Validate() method that validates the form and return the error messages so that the state for the error messages can be updated.
const validate = (formValues: any) => {
    let error: ErrorMessage = {
      first: "",
      last: "",
    };
    console.log(formValues);
    if (!formValues.first) {
      error.first = "Firstname is required";
    } else if (formValues.first.length < 10) {
      error.first = "Firstname should be minimum 10 characters.";
    } else {
      error.first = "";
    }
    if (!formValues.last) {
      error.last = "Lastname is required";
    } else {
      error.last = "";
    }
    return error;
  };
Now this is part that becomes tedious to write if the form is a complex form and as mentioned in the beginning of the post that external libraries does this job more effectively in complex forms along with other benefits and easy to write code.
For this demo we have performed a very basic level of validation but we can do almost anything here with the caveat of write too much code.
- The Form - This is the most obvious thing to do. The render method returns a
divwith aformhaving 2 input textboxes and a button.
The even handlers point# 2 is associated with the form controls making our implementation complete.
use client
You might have noticed that we have started our component with use client. This is required
as all the components in nextjs 13 are by default server components.
Since we are using the client side functionalities like useState() we will have to mark our
components with use client so that nextjs considers it as a client component.
With this our implementation of a form validation without any external package is complete.
You can find the source code from my GitHub Repo
Thank you for reading and see you in the next post !👋

How to convert Nextjs to PWA (Progressive Web App)?
How to convert Nextjs to TypeScript?