AspNetCore
AspNetCore has been there in the market from quite some time now and more and more existing applications are getting migrated to dotnet core. After .NET 6 a new version .NET 7 has been released with lots of new features with enhanced performance. This new version would be supported for 18 months and again a new version of .NET would be there ready for us. With each new version of .NET coming up there are additions and improvement in the way we code. Initially we used to write lots of code to wire up a dotnet core 2.0 app. With .NET 6 even the Main() method in the Program.cs and the Startup.cs class is not present in the default project template.
Are these methods or functionalities removed ? Not really, these still exists but are abstracted from us with the new classes coming up. There is rarely a rewrite of the core functionalities when a new version of any framework is released. While is it important to keep ourself updated with the changes happening in the latest versions it is equally important to understand how the new changes have evolved from the existing one. This can happen only when we go deep inside the source code of the .NET repository. A practical understanding of things gets rooted into our mind than merely going through the documentation.
Today we are going to look into one such area so that we not just make use of the latest project template to create our project rather we are able to understand what the new changes are doing behing the scene.
We will be looking into "How to setup and debug Microsoft AspNetCore Source Code ?". This will give us an opportunity to undertsand the core principles of the framework so that we can make the best use of the dotnet platform available to us.
Why should we look into the source code ?
I personally feel that looking into the source code and having its understanding is really important for us as developers. It makes us fundamentally strong with the technology we are working with. Now since .NET is open source we should make the best use of it and step up to understand and contribute to the open source community. Going through the source code would give us an idea of writing good and efficient code. It will increase our awareness of the best practices. It will help us design our methods and classes correctly, follow correct naming conventions and design principles. It will enhance our knowledge of design patterns. It would also help us stand ahead of the crowd and make us confident with our knowledge opening us a door of opportunities. Although it is not very easy to understand each and every line of code but taking the first step and trying to understand will definitely help to enhance our understanding of what the entire dotnet community is building and contributing.
What are the prerequisites ?
You need to have the following softwares installed in your machine.
- Git
- Visual Studio 2022/ Visual Studio Code
All you need to be familiar with is the basic knowledge of Git commands so that you can fork/clone the repository and start getting the code from the repository to your local machine.
Where is the Source Code of AspNetCore ?
The source code of AspNetCore is present in the official github repository. You can access it from the link here
You can clone the repository with the following command in the Gitbash terminal.
git clone https://github.com/dotnet/aspnetcore.git
This will clone the entire codebase of the AspNetCore github repository into the folder of your choice. The first step to going through the code is done already.
There source code repository would contain the latest code of the version that is not yet released. Every release is tagged in the github repository and you can checkout the tag of a particular release with the command below.
git checkout tags/v7.0.0 -b v7.0.0-branch
The above command when run in the Gitbash terminal would checkout the code tagged with the version# v7.0.0.0 into a separate branch v7.0.0.0-branch. You can create a branch with any name of your choice.
This is pretty simple and now we need to build the code and start exploring whats inside the repository. Before we move ahead I would strongly recommend you to go through the ReadMe section to understand how to get started and the basic protocols.
The section here focuses on Building the AspNetCore repository.
Structure of the AspNetCore Solution
The AspNetCore repository contains a solution file AspNetCore.sln and multiple folders. The source code is present in the src folders. The AspNetCore.sln solution contains various folders with ".slnf" file and "csproj" file. The source code for the AspNetCore and dependent assembly is present inside the src folder of the folder with the name of the assembly or functionality. All the projects for the AspNetCore and dependent assembly is present inside the solution "AspNetCore.sln". Once you open the solution make sure that all the projects are loaded correctly or there would be build errors on building the solution. Your Visual Studio should show up a message to download additional workload in case there are projects whose workload is not installed in your machine. Install all the workload and reload the solution. Most of the time we would be working with the .slnf file that contains the code for a particular assembly but we can anyways open the main solution file and work with it. The AspNetCore source code is very huge hence we build it with command line since Visual Studio is not able to handle such a huge solution with its current ability to give high performance.
If you are interested to know about building projects from command line I have earlier written a post on MSBuild - Building projects and solutions from command line
If you have correctly followed the instruction present in the ReadMe section you should be able to build your solution successfully.
Debugging the source code
If you are able to build the solution successfully you should be able to start debugging and exploring the code further. I am going to explain the way by which I started to explore the code.
We will create a new .NET 7 WebAPI project in Visual Studio 2022 and examine the code present in Program.cs file.
var builder = WebApplication.CreateBuilder(args);
builder.Services.AddControllers();
builder.Services.AddEndpointsApiExplorer();
builder.Services.AddSwaggerGen();
var app = builder.Build();
// Configure the HTTP request pipeline.
if (app.Environment.IsDevelopment())
{
app.UseSwagger();
app.UseSwaggerUI();
}
app.UseHttpsRedirection();
app.UseAuthorization();
app.MapControllers();
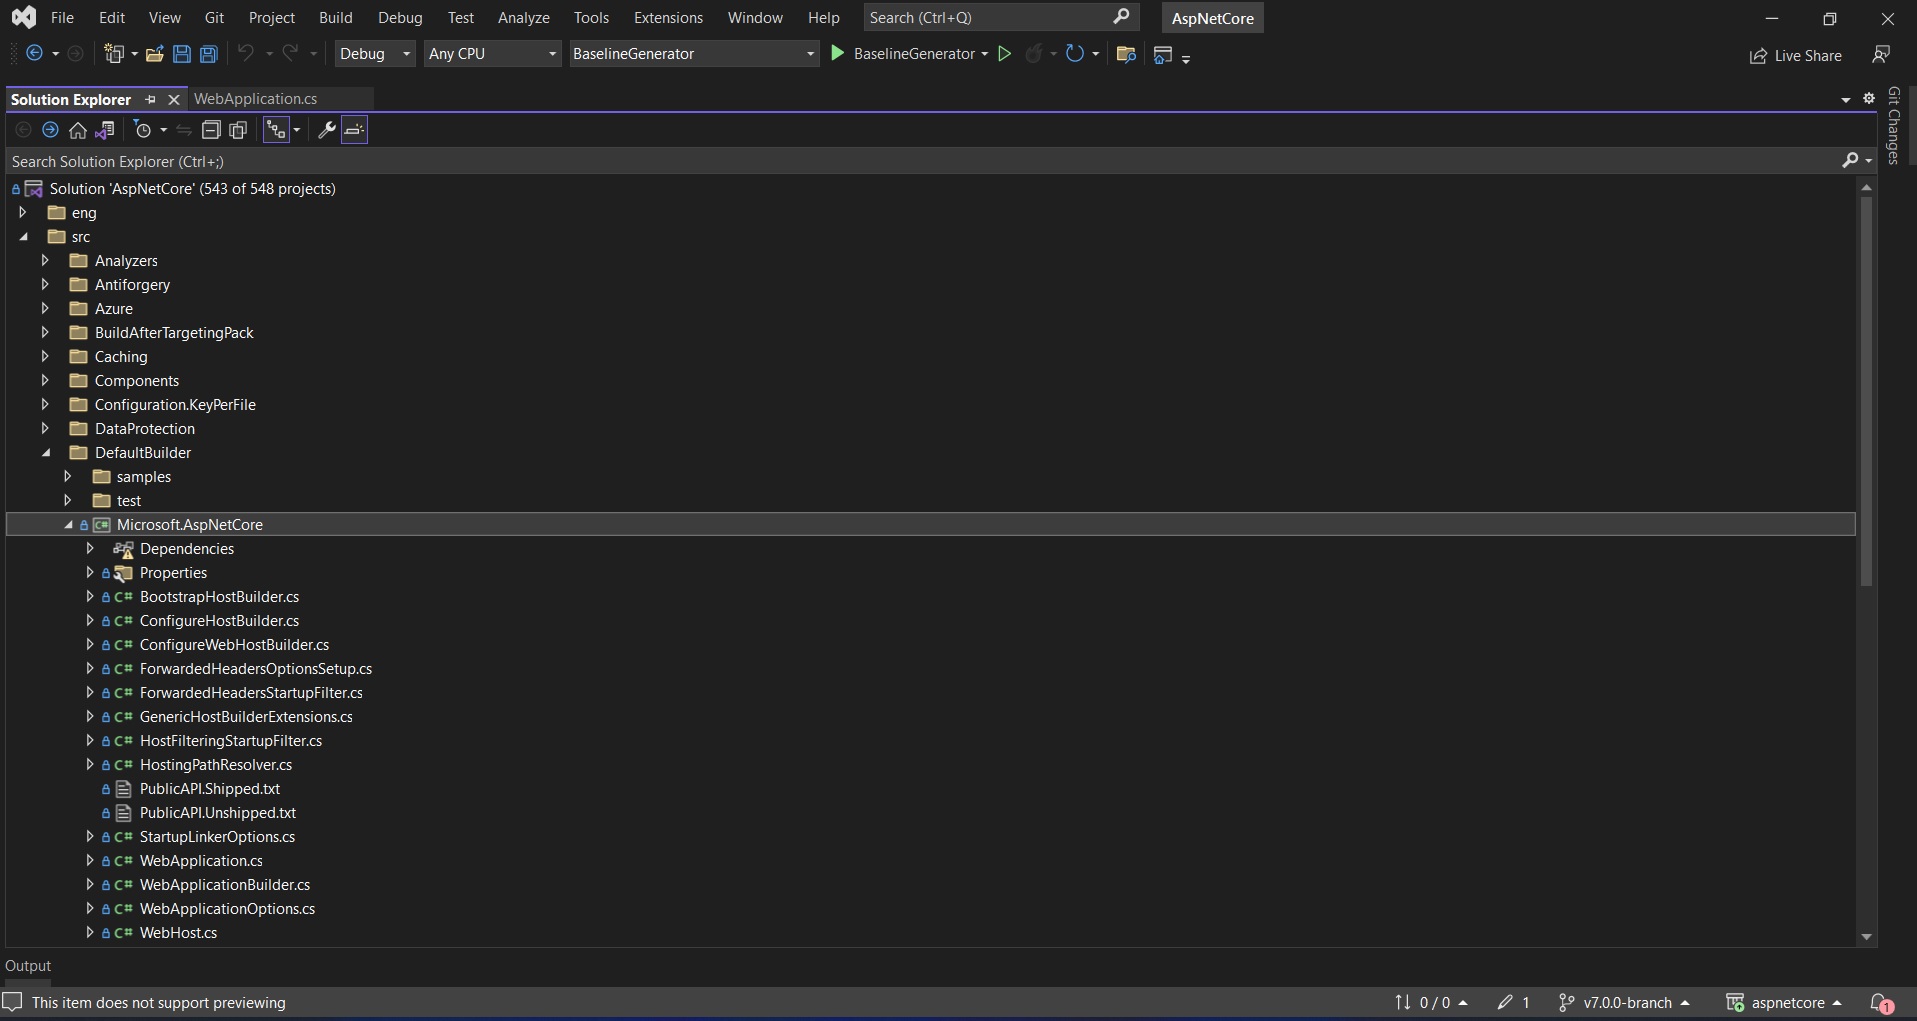
app.Run();The first line itself contains a call to the CreateBuilder(args) method present in the WebApplication class. Go to the definition of the CreateBuilder() method to find out the assembly that contains the source code for the WebApplication class. When navigating to the definition we notice that the method is present inside the dll Microsoft.AspNetCore.dll We would now be looking for the Project named "Microsoft.AspNetCore" in the source code of AspNetCore solution.
The Microsoft.AspNetCore project is present inside the DefaultBuilder folder. The interesting thing to note is that the folder contains a sample and a test folder in addition to the source code for AspNetCore. This means that we should be able to understand the source code from the Sample Project itself. Let us set the Sample Project as a start up project and put a breakpoint in the Main() method of the Program.cs file of the sample project and run the solution. When the soltion is run we see that the breakpoint is hit and yes we can now step inside the source code to explore the code further.
In practical scenario we would want to step inside the AspNetCore source code from the application on which we are working. In our case let us try to step inside the source code from the new AspNetCore.WebAPI project we have newly created.
To do this we will have to add a project reference to the Microsoft.AspNetCore.dll. The source code of AspNetCore contains all output assembly inside the Artifact folder in a folder structure similar to that of the source code.
Right click on the Dependencies node of your webapi project and click on Add Project Reference.
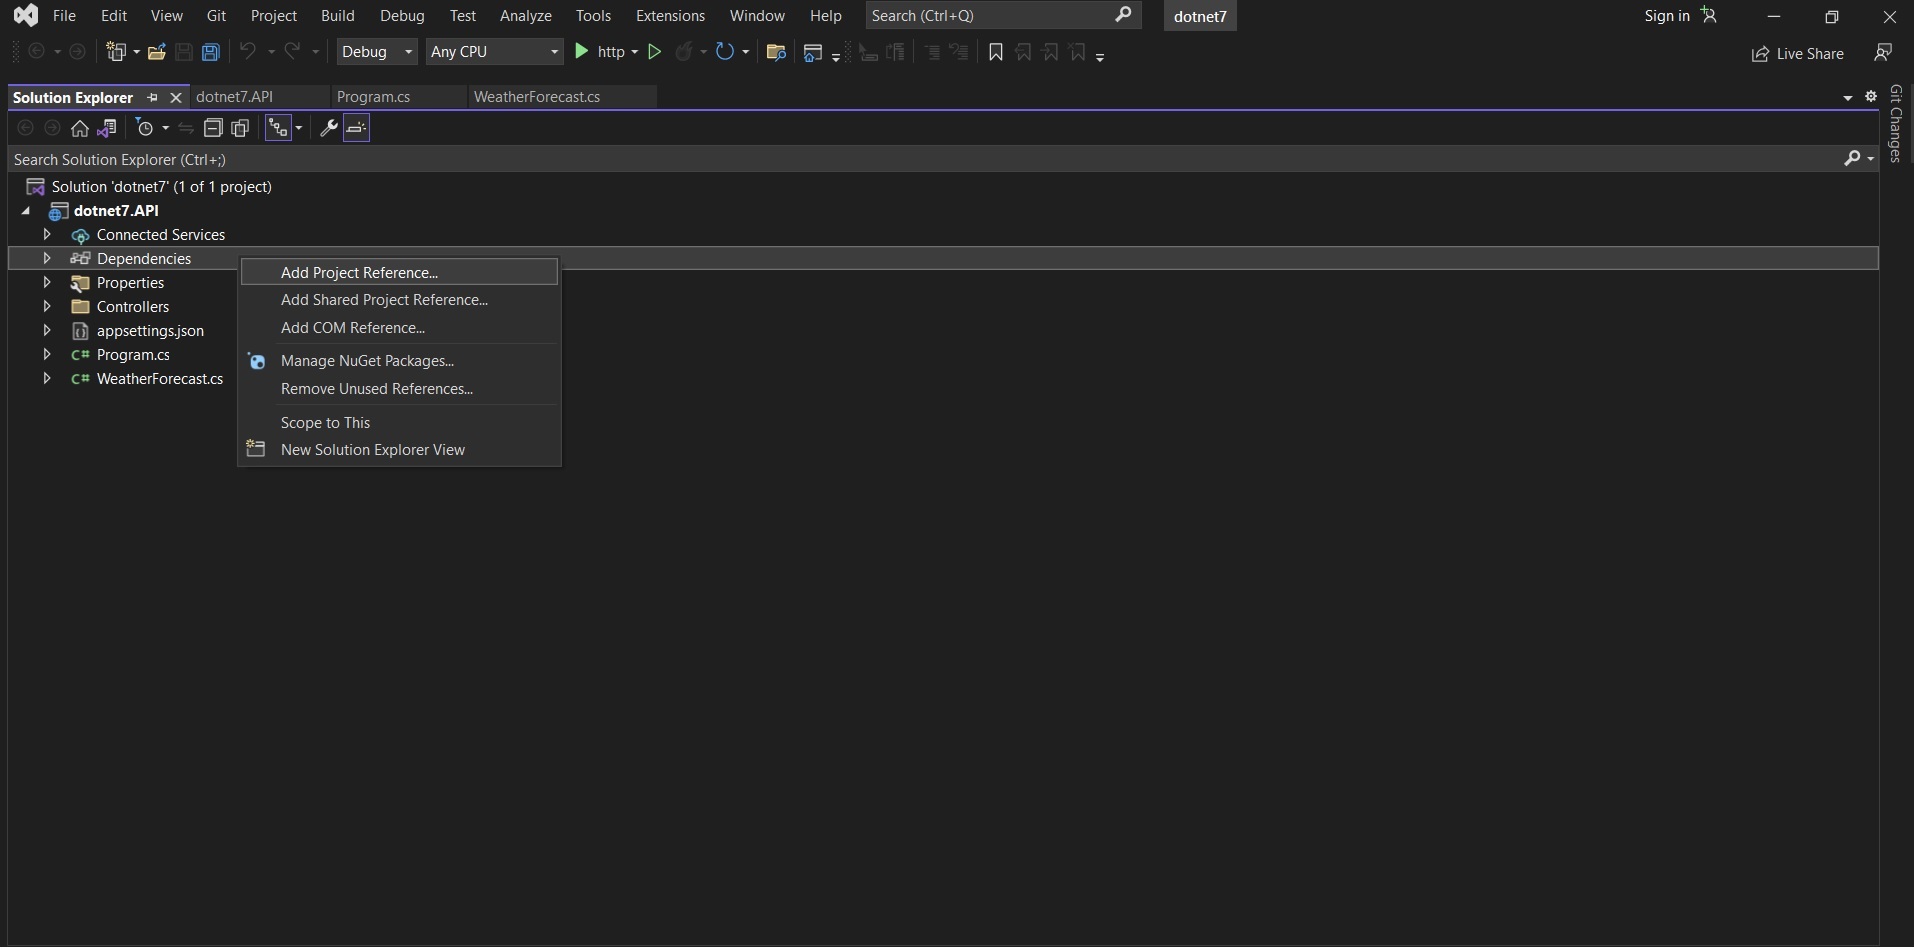
Click of browse and navigate to the DefaultBuilders folder of the Artifacts folder of the AspNetCore repository. Select the dll named Microsoft.AspNetCore.dll and click on open and you should be done.
You should now notice that the Microsoft.AspNetCore.dll is shown inside the Assemblies node of your WebAPI project. Build your WebAPI project and put a breakpoint on the CreateBuilder() method inside Program.cs. Once the breakpoint is hit you can step into the AspNetCore source code and get going.
This is just a basic step to get you started with exploring the depth of AspNetCore source code, the same process applies to exploring the source code of any assembly in dotnet core or traditional .NET Framework if you have the source code.
The focus should be on learning as much as we can and going to articles, videos and reach out to the community for help if needed to enhance our knowledge and have a solid foundation.
Happy Debugging.
Please reach out me on social media in case you need help with anything related to the debugging process and I would be happy to help.
Top C# Features You Need to Know in 2025
Exploring ServiceProvider in .NET
Exploring ServiceDescriptor in .NET
Exploring ServiceCollection in .NET
Authentication and Authorization in AspNetCore
Authentication and Authorization in Asp.Net WebApi
Authentication and Authorization in Asp.Net MVC
Understanding Authentication and Authorization in Asp.Net WebForms
Exploring AddControllers() method in AspNetCore (.NET 7)
Understanding CreateBuilder() method in AspNetCore (.NET 7)